Worm composting transforms kitchen scraps into rich, organic fertilizer. It’s sustainable, eco-friendly, and surprisingly simple. Imagine turning vegetable peels and coffee grounds into “black gold” for your garden. A DIY worm composting bin lets you do just that, saving money and reducing waste. According to the EPA, food scraps and yard waste make up 30% of household waste in the U.S. Worm composting cuts this down significantly. The University of Illinois Extension notes that vermicomposting produces compost 10 times richer in nutrients than traditional methods. Ready to start? This guide walks you through building your own worm composting bin with clear, practical steps.
Why Choose Worm Composting?
Worm composting, or vermicomposting, uses worms to break down organic waste. Red wigglers, the stars of this process, eat food scraps and produce nutrient-packed castings. These castings enrich soil, improve plant growth, and reduce landfill waste. It’s perfect for small spaces, apartments, or anyone wanting to garden sustainably.
Benefits of Worm Composting
- Reduces Waste: Diverts food scraps from landfills.
- Improves Soil: Castings boost soil fertility and structure.
- Low Maintenance: Worms do the heavy lifting.
- Space-Saving: Fits in small spaces like balconies or kitchens.
- Eco-Friendly: Lowers your carbon footprint.
Materials Needed for Your DIY Worm Composting Bin
Building a worm bin requires simple, affordable materials. Most items are available at home or local hardware stores. Here’s what you need:
- Two Plastic Bins: 10–20 gallon capacity, opaque to keep worms in darkness.
- Lid: A tight-fitting lid for the top bin to retain moisture.
- Drill: For creating ventilation and drainage holes.
- Shredded Newspaper or Cardboard: For bedding material.
- Red Wiggler Worms: About 1 pound (500–1,000 worms) for a standard bin.
- Food Scraps: Vegetable peels, fruit scraps, coffee grounds (no meat or dairy).
- Mesh Screen or Landscape Fabric: To cover ventilation holes.
- Spacer Blocks: Small pieces of wood or plastic to separate bins.
- Waterproof Tray: To catch liquid runoff (optional).
Step-by-Step Guide to Building Your Worm Composting Bin
Follow these steps to create a functional, efficient worm composting system. The process takes about an hour and requires minimal tools.
1. Choose the Right Bins
Pick two sturdy plastic bins, ideally 10–20 gallons. Opaque bins protect worms from light. Ensure one bin has a lid. Stackable bins save space. Check for cracks to avoid leaks.
2. Drill Ventilation and Drainage Holes
Drill 10–12 small holes (1/4 inch) in the bottom of one bin for drainage. Add 8–10 holes along the upper sides for air circulation. Cover side holes with mesh to prevent worm escapes. The second bin catches liquid runoff, so it needs no holes.
3. Prepare the Bedding
Shred newspaper or cardboard into 1-inch strips. Soak in water until damp, not soggy. Squeeze out excess water. Fill the drilled bin one-third full with bedding. Add a handful of garden soil for grit, helping worms digest food.
4. Add the Worms
Introduce 1 pound of red wiggler worms (Eisenia fetida) to the bin. Buy them from a local nursery or online supplier. Scatter worms evenly over the bedding. Let them settle for a day before adding food.
5. Set Up the Bin System
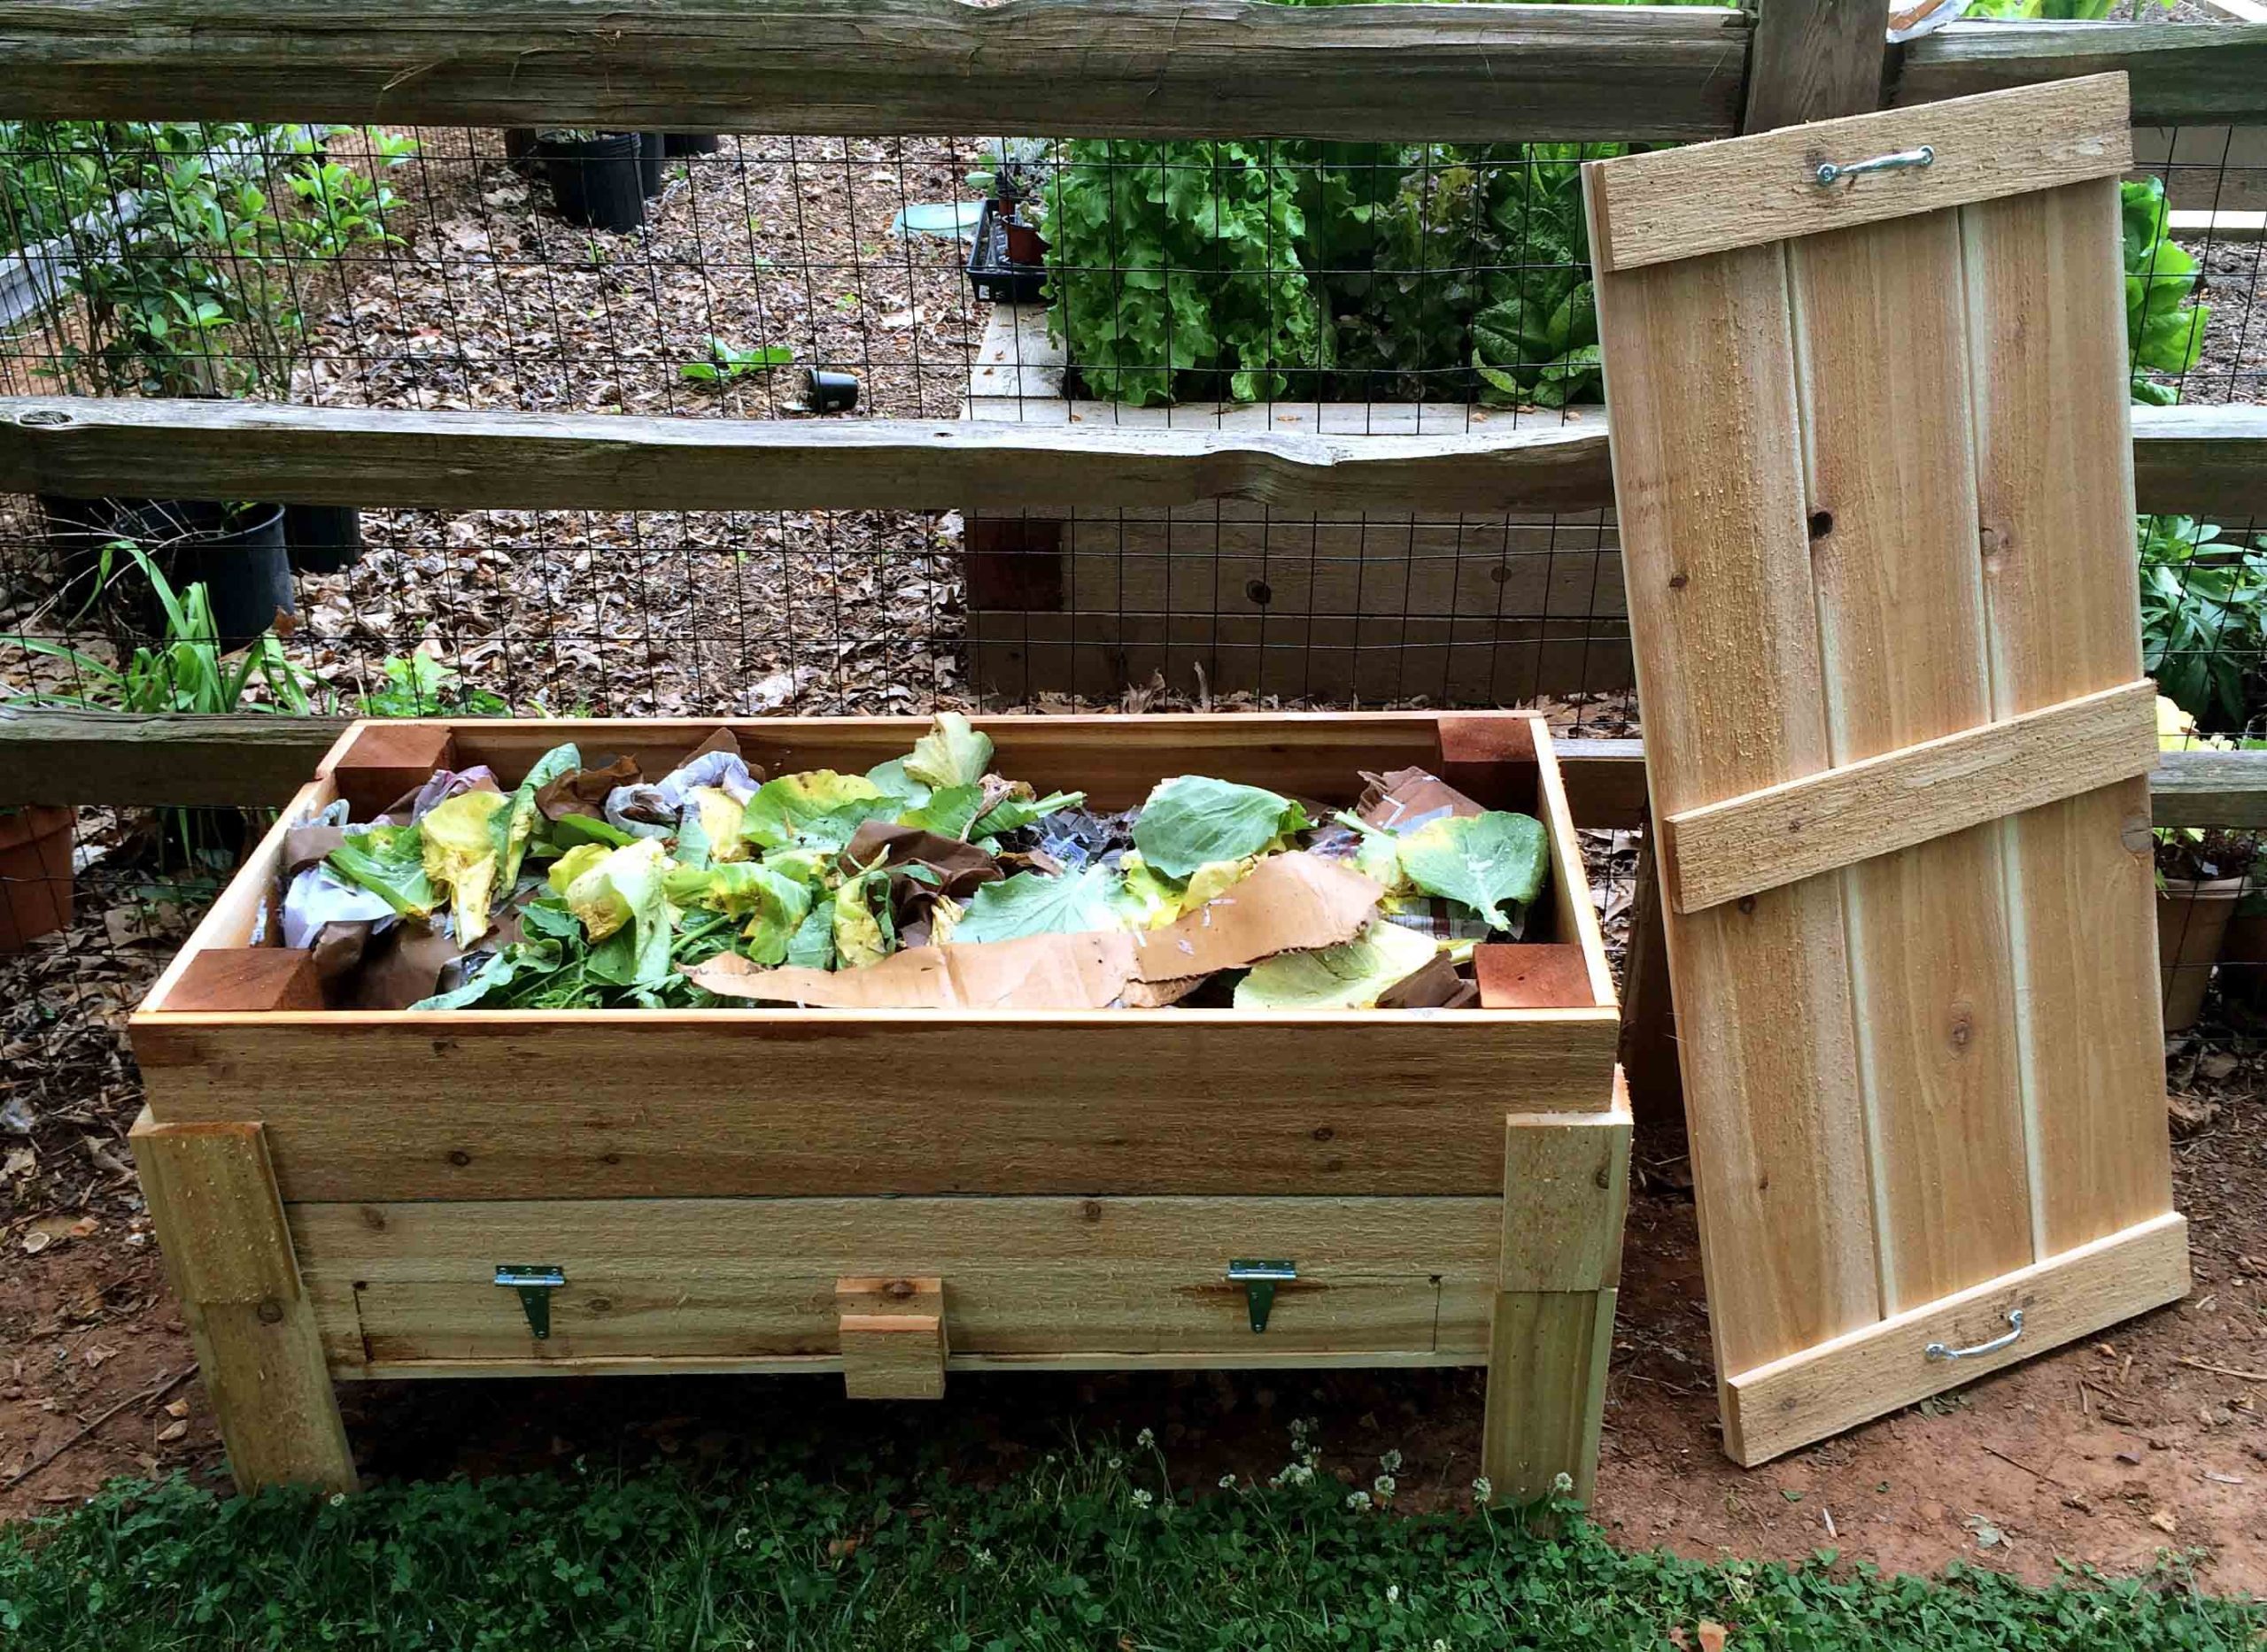
Place the drilled bin inside the undrilled bin. Use spacer blocks to elevate the top bin slightly, allowing liquid to collect below. Place the lid on the top bin to maintain moisture and darkness.
6. Add Food Scraps
Start with small amounts of food scraps (e.g., vegetable peels, coffee grounds). Bury scraps in the bedding to avoid odors. Feed worms weekly, adding scraps in different spots to encourage movement. Avoid meat, dairy, oily foods, or citrus in large amounts.
7. Place the Bin in a Suitable Location
Keep the bin in a shaded area with temperatures between 55–77°F. Ideal spots include garages, basements, or under kitchen sinks. Avoid direct sunlight or freezing conditions.
8. Maintain the Worm Bin
Check moisture weekly; bedding should feel like a wrung-out sponge. Add water if dry, or dry bedding if too wet. Stir gently every few weeks to aerate. Monitor worm health; active worms indicate a thriving bin.
Feeding Your Worms: Dos and Don’ts
Worms thrive on a balanced diet. Feed them correctly to avoid problems like odors or pests.
What to Feed Worms
- Vegetable scraps (carrots, lettuce, zucchini).
- Fruit scraps (apple cores, banana peels).
- Coffee grounds and filters.
- Crushed eggshells (for calcium).
- Tea leaves and bags (remove staples).
What to Avoid
- Meat or dairy (causes odors).
- Oily foods (disrupts digestion).
- Citrus in large amounts (too acidic).
- Salty or processed foods (harmful to worms).
- Pet waste or toxic plants.
Feeding Tips
- Chop scraps into small pieces for faster breakdown.
- Feed 1–2 times weekly, based on worm consumption.
- Bury food under bedding to prevent fruit flies.
- Monitor for overfeeding; uneaten food causes smells.
Harvesting Worm Castings
After 3–6 months, your bin produces rich compost. Harvest castings when bedding looks dark and crumbly.
How to Harvest
- Stop feeding worms for 1–2 weeks.
- Push compost to one side of the bin.
- Add fresh bedding and food to the empty side.
- Wait 1–2 weeks for worms to migrate.
- Scoop out castings from the original side.
- Use castings in gardens or potted plants.
Using Liquid Runoff
Liquid (leachate) collects in the bottom bin. Dilute it 10:1 with water. Use as a liquid fertilizer for plants. Avoid using undiluted leachate; it’s too strong.
Troubleshooting Common Issues
Worm bins are low-maintenance but can face issues. Here’s how to fix common problems:
- Odor: Overfeeding or poor aeration. Remove excess food, stir bedding, and add dry newspaper.
- Fruit Flies: Exposed food scraps. Bury food deeper and cover with bedding.
- Worms Escaping: Bin too wet or acidic. Adjust moisture and avoid citrus.
- Slow Composting: Too few worms or cold temperatures. Add more worms or move to a warmer spot.
Tips for Long-Term Success
Keep your worm bin thriving with these practical tips:
- Monitor temperature and moisture regularly.
- Rotate feeding spots to keep worms active.
- Add fresh bedding every 1–2 months.
- Split the bin if worms overpopulate (every 6–12 months).
- Use castings sparingly; a little goes a long way.
Environmental Impact of Worm Composting
Worm composting reduces landfill waste and greenhouse gas emissions. The EPA reports that organic waste in landfills produces methane, a potent greenhouse gas. Vermicomposting cuts methane by breaking down scraps aerobically. It also enriches soil, reducing the need for chemical fertilizers. A study from Cornell University found that worm castings improve soil water retention by 20%, helping plants thrive in droughts.
Scaling Up Your Worm Composting
Once comfortable, expand your system. Stack additional bins for larger households. Use multiple bins for different stages of composting. Share extra worms with friends or local gardeners. Larger systems handle more waste but require more maintenance.
Related Topics: How Does a Solar Water Heater Work
Conclusion
Building a DIY worm composting bin is simple, rewarding, and eco-friendly. With basic materials and red wiggler worms, you turn kitchen scraps into nutrient-rich compost. Follow the steps to set up, feed, and maintain your bin. Harvest castings to boost your garden’s health. Start today and join the sustainable gardening movement. Build your bin now and watch your waste transform into treasure!
FAQs
How Many Worms Do I Need for a DIY Worm Bin?
Start with 1 pound (500–1,000) red wiggler worms for a 10–20 gallon bin. Adjust based on food scrap volume.
Can I Use Any Type of Worm for Composting?
Red wigglers (Eisenia fetida) work best. Earthworms like nightcrawlers don’t thrive in confined bins.
How Long Does It Take to Get Compost?
Worm castings are ready in 3–6 months, depending on worm population and feeding rate.
Can I Keep My Worm Bin Indoors?
Yes, worm bins fit under sinks or in basements. Ensure good ventilation and stable temperatures (55–77°F).
What Happens If My Bin Gets Too Wet?
Add dry bedding like shredded newspaper. Stir gently to improve aeration and reduce moisture.
References
- EPA: Food Waste Statistics – https://www.epa.gov/recycle/composting-home
- University of Illinois Extension: Vermicomposting Guide – https://extension.illinois.edu/composting/vermicomposting
- Cornell University: Soil Health and Vermicomposting – https://www.cornell.edu/soilhealth/vermicomposting