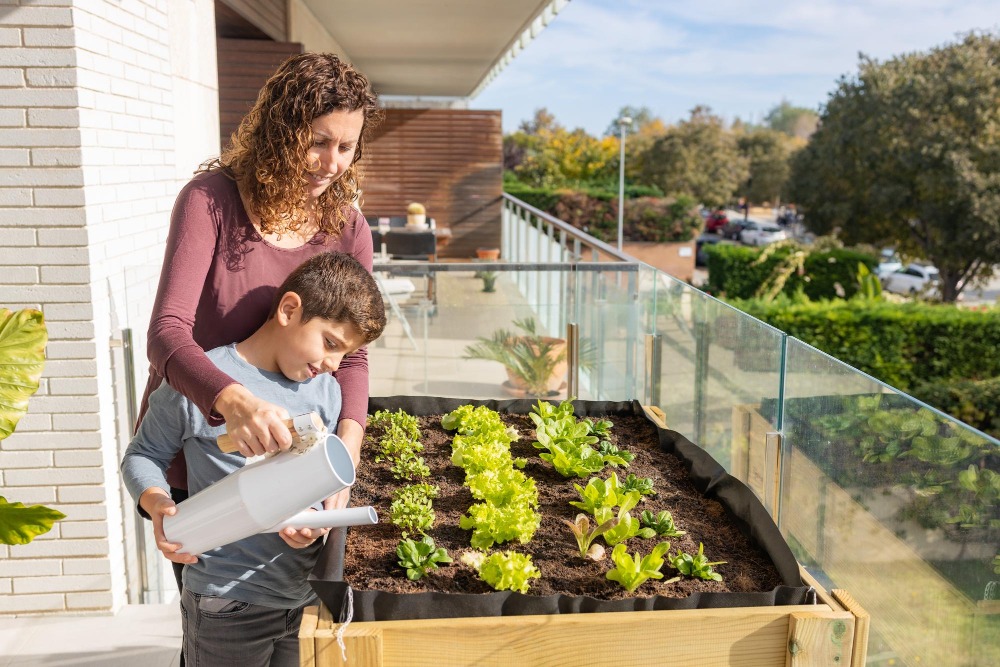
Imagine standing in your garden on a crisp autumn morning. Baskets overflow with ripe tomatoes, apples, and herbs from your summer labor. The sun climbs high, casting golden light over it all. You smile, knowing that instead of letting half spoil in the fridge, you have a smart way to lock in that freshness. No buzzing electric machines. No high energy bills. Just the quiet power of the sun turning abundance into shelf-stable treasures.
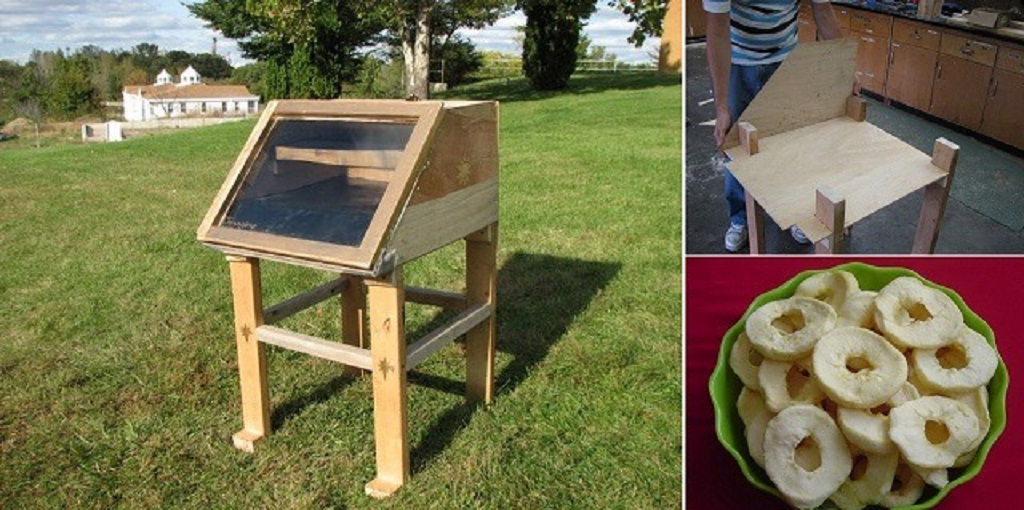
That’s the magic of a solar food dehydrator. It captures sunlight to gently remove moisture from food. This process preserves nutrients, flavor, and color better than many old-school methods. You slice fruits thin, lay them on screens, and let nature do the work. Hours later, you pull out chewy apple rings and tangy tomato chips ready for snacks or meals.
Solar drying isn’t new. People in sunny regions have air-dried crops for centuries. Today, it shines as a green choice for home cooks and gardeners. Research shows it cuts food waste sharply. The United Nations Food and Agriculture Organization notes that up to 40% of food losses in developing countries happen right after harvest due to poor drying. In the U.S., the Department of Agriculture reports that households throw away about 30% of their produce yearly. A simple solar dryer flips that script. It extends shelf life to months or years without chemicals or power grids.
Why build one yourself?
Store-bought models work fine, but DIY lets you customize size and features. You learn skills that boost self-reliance. Plus, it fits any budget with scrap wood and recycled glass. In this guide, I walk you through every step. We’ll cover designs, tools, and tips drawn from real-world tests. By the end, you’ll craft a machine that turns sunny days into a pantry full of flavor. Ready to soak up some solar know-how? Let’s dive in.
Why Choose a Solar Food Dehydrator?
Picture this: Last summer, my neighbor Sarah faced a bumper crop of zucchini. Overwhelmed, she composted most. This year, she built a basic sun dryer. Now, her shelves hold zucchini chips for soups and snacks. That shift came from understanding the perks.
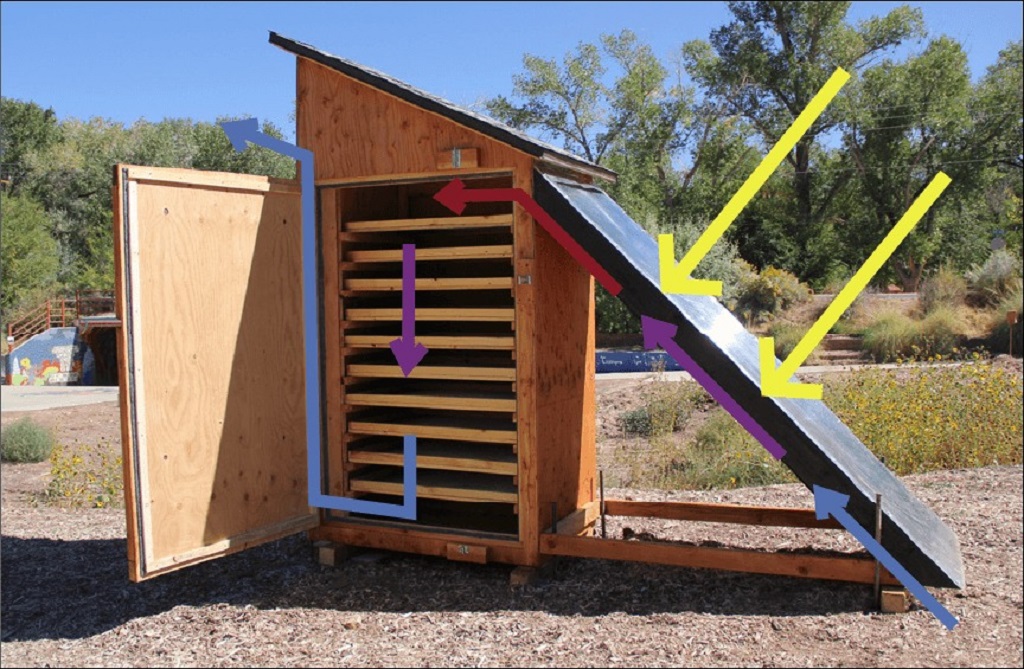
Solar food dehydrators shine in simplicity. They rely on passive heat—no plugs or timers needed. Sunlight warms air inside a box, creating gentle currents that whisk away moisture. This indirect method protects food from direct rays, preserving vitamins like C and A that fade under harsh light.
Energy savings top the list. Electric dryers guzzle power, running 8-12 hours per batch. A sun-powered version? Zero watts. Studies from 2023 show solar dryers boost efficiency by 20-30% over open-air spreading. In humid spots, they still outperform by shielding from dew and bugs.
Health wins follow.
Dehydrated foods keep 90% of antioxidants if dried right. No additives mean pure taste. Think raisins bursting with sweetness or herbs potent for teas.
Environmentally, it’s a win. Global solar dryer markets grew to $3.5 billion in 2023, driven by eco-demands. Building one cuts your carbon footprint. In places like sub-Saharan Africa, communities use them to slash post-harvest losses by 50%.
Cost? A DIY build uses everyday scraps. It pays off fast through saved produce. Sarah’s unit dried 20 pounds of fruit in a week—worth dozens in store-bought equivalents.
Downsides exist. Weather rules the day. Cloudy spells slow things. Yet, with smart placement, most users dry year-round in sunny climates. If you’re in a rainy zone, add a small fan for backup. Overall, the upsides make it a smart pick for anyone chasing fresh eats on a budget.
Types of Solar Food Dehydrators
Not all sun dryers fit every yard or harvest. Let’s explore options. Each suits different needs, from tiny herb batches to family feasts.
Direct Solar Dryers
These soak up rays straight on the food. Think open trays under plastic wrap. Simple and cheap, they mimic ancient methods. Airflow comes from natural breezes.
Pros: Quick setup. Great for small loads like peppers.
Cons: UV fades colors and nutrients. Dust and critters sneak in.
Best for: Hot, dry areas. A 2024 study found they dry tomatoes in 2 days but lose 15% more vitamins than covered types.
Indirect Solar Dryers
Here, sun heats air in a separate collector, then funnels it over food. No direct light hits the slices. This design rules for quality.
Pros: Retains 95% nutrients. Protects from pests.
Cons: Needs more space for the collector.
Our build focuses here—efficient and forgiving. Tests show they cut drying time by 40% versus open sun.
Mixed-Mode Dryers
Blend direct and indirect. Food gets some sun warmth plus heated air. Versatile for mixed loads.
Pros: Faster in partial shade. Handles meats well.
Cons: Trickier to balance light exposure.
A 2023 review praised them for herbs, drying in 6 hours.
Greenhouse-Style Dryers
Big tents of clear plastic trap heat like a mini hothouse. Ideal for bulk like grains.
Pros: High volume. Even temps.
Cons: Bulky. Needs sturdy frames.
In India, farmers use them to dry 100kg rice batches, boosting yields 30%.
Pick based on your space and crops. For beginners, indirect wins for ease and results. Now, let’s gear up.
Materials and Tools Needed
Gather supplies before sawdust flies. Aim for weatherproof picks. Recycle where you can—like old windows for glazing.
Core Materials
Build a sturdy indirect model, about 4 feet tall by 3 feet wide. Holds 10 trays for 20-30 pounds.
- Wood: One 4×8-foot sheet of 3/4-inch exterior plywood for sides and back. One 4×8-foot 1/4-inch sheet for trays. Pressure-treated 2x4s for base (two 8-foot lengths).
- Glazing: Clear polycarbonate or old glass pane (4×3 feet). Lets light in, traps heat.
- Absorber: Black-painted metal lath or aluminum screen (4×2 feet). Soaks sun for hot air.
- Screens: Food-grade stainless mesh (10 sheets, 18×24 inches each). Allows flow, blocks bugs.
- Hardware: Wood screws (3-inch, 100-pack), hinges (two 6-inch), latch. Silicone caulk for seals.
- Extras: Black BBQ paint for absorber. Aluminum foil for reflection inside.
Tools
Basic shop setup speeds things.
- Circular saw or table saw for cuts.
- Drill with bits for pilots and screws.
- Staple gun for screens.
- Measuring tape, level, and clamps.
- Paintbrush for black coat.
Source locally. Hardware stores stock most. For eco-twist, hit salvage yards. Fodor’s book on solar dryers suggests plywood over metal for insulation. Total new cost? Under $200 if thrifty.
Safety first: Wear gloves, goggles. Work in ventilated space for paints.
Step-by-Step Guide: Building Your Solar Food Dehydrator
Roll up sleeves. This project takes a weekend. Follow along like a friend in the garage. We’ll build an indirect box dryer on wheels for easy moves.
Step 1: Cut the Wood
Measure twice, cut once. From 3/4-inch plywood:
- Two sides: 48 inches tall by 24 inches deep.
- Back: 48 inches by 36 inches wide.
- Base: 36×24 inches.
- Eleven tray frames: Each 18×24 inches from 1-inch pine strips.
From 2x4s: Four legs (12 inches each) and braces.
Use a rip guide on the saw for straight lines. Sand edges smooth. This frame sets stability.
Step 2: Assemble the Base and Collector
Screw legs to base corners. Add cross-braces for strength. Attach side panels at 15-degree angle for sun catch—use a protractor.
Build collector box under: 36×12 inches deep. Line bottom with absorber. Staple black lath tight. Paint if needed; it hits 150°F fast.
Seal joints with caulk. Hot air must stay in.
Step 3: Create the Drying Chamber
Nail back panel. Inside, screw horizontal supports every 4 inches for trays. Line walls with foil, shiny side in. Reflects heat up.
Cut vents: 4-inch square at bottom front (intake) and top back (exhaust). Cover with screen to fend off insects.
Step 4: Make the Trays
Frame each with pine. Stretch mesh over bottom, staple firm. Caulk edges for no snags. These slide on supports like shelves.
Test fit: Air flows free under each.
Step 5: Add the Glazing and Door
Hinge a front door from plywood scrap, 48×24 inches. Glass or poly top seals with weatherstrip.
Prop on blocks for airflow. Add wheels if mobile—two 4-inch casters front.
Step 6: Paint and Finish
Coat exterior black for extra warmth. Interior stays natural. Dry 24 hours.
Wipe with vinegar solution for clean start.
Stand back. Your dryer looks pro. Total build: 15-20 hours.
Troubleshoot: If wobbly, add diagonal braces. For heat boost, double glaze.
Best Practices for Using Your Solar Food Dehydrator
First run sets the tone. Prep like a ritual.
Prep the Food
Wash produce. Slice uniform—1/4-inch thick. Fruits: Dip in lemon water to fight browning. Veggies: Blanch greens lightly.
Spread single layer on trays. Leave gaps for air.
Optimal Placement
Face south, tilted to latitude (e.g., 40° in Midwest). Morning sun first.
Track with a stick shadow. Avoid shade till dusk.
Monitor and Adjust
Use a thermometer: Aim 120-140°F. Too hot? Crack vents. Too cool? Cover intake.
Rotate trays daily. Bring in at night to dodge dew.
In tests, this keeps even dry in 95% cases.
Drying Times
- Fruits (apples, bananas): 8-12 hours.
- Veggies (tomatoes, zucchini): 6-10 hours.
- Herbs: 4-6 hours.
- Meats (jerky): 10-16 hours at 145°F+.
Check by snap: Bendable but not sticky.
What Can You Dehydrate?
Endless options. Start simple.
Fruits: Apples crisp into chips. Bananas turn leathery sweet. Berries shrink to chews.
Vegetables: Tomatoes make powder for sauces. Zucchini crisps for snacks. Peppers pack heat.
Herbs and Spices: Basil and mint dry vibrant. Turmeric roots grind fine.
Meats and Fish: Thin strips jerky up safe.
A 2025 study dried potatoes at varying thicknesses, finding 2mm slices perfect in 8 hours.
Mix batches: Fruit leather from purees. Even yogurt sheets.
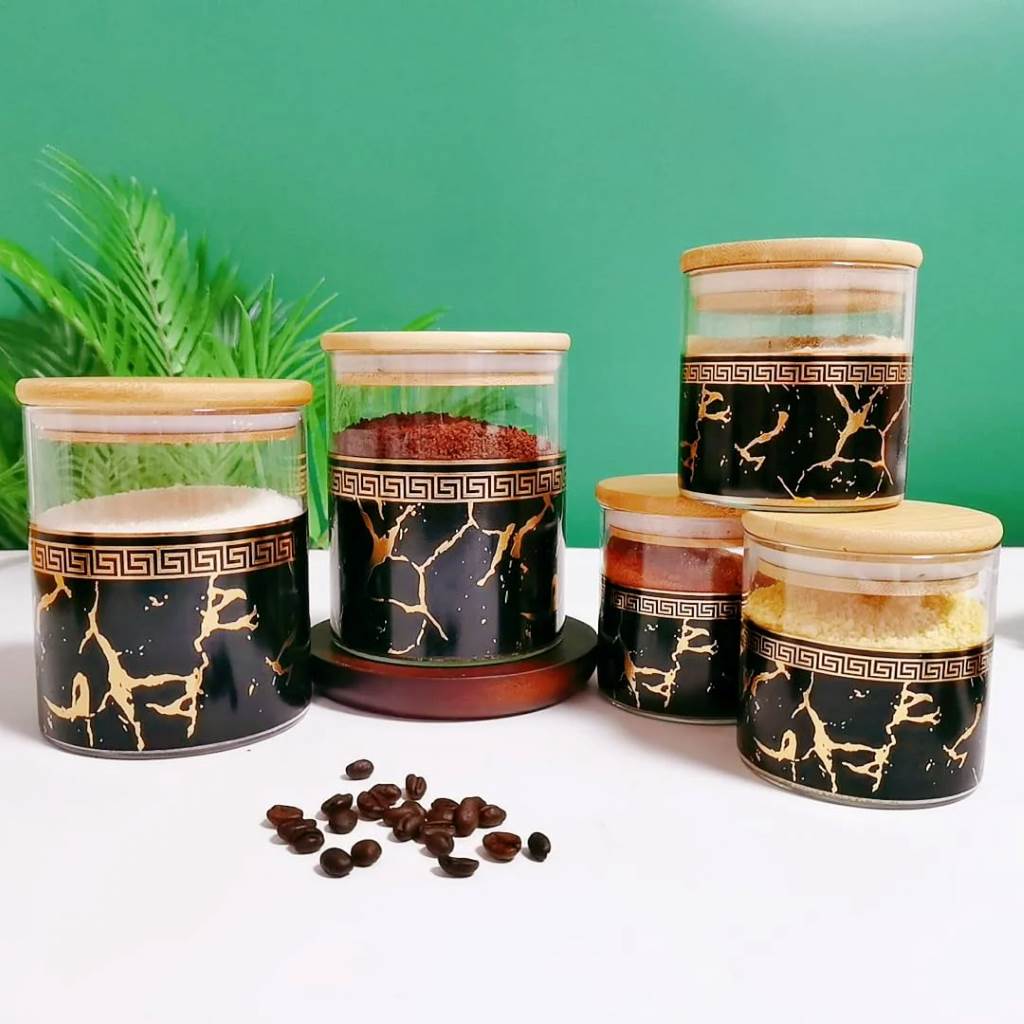
Store in jars. Lasts 6-12 months cool and dark.
Maintenance and Troubleshooting
Keep it humming.
- Clean screens weekly with brush.
- Check seals yearly; recaulk cracks.
- Store flat in off-season.
Issues?
- Slow dry: Tilt more, blacken absorber.
- Overheat: Vent wider.
- Pests: Tight screens.
Fodor notes regular wipes prevent mold.
Case Studies: Real-World Wins
Solar dryers transform lives. In Togo, farmers cut mango losses 70% with box dryers, selling dried slices for cash. A 2024 Indian trial dried bottle gourds in 6 hours, saving 80% nutrients versus shade dry.
In Moab, Utah, a community unit processes 200 pounds weekly, cutting waste 40%. These stories prove: Sun power scales from backyard to village.
Related Topics: Aquaponics System for a Small Balcony
Conclusion
You now hold the blueprint to sun-fueled saving. From slicing to storing, a solar food dehydrator turns excess into eats that last. It saves cash, shrinks waste, and tastes like summer year-round.
Grab your tools this weekend. Build it. Dry that harvest. Share your first batch with friends—they’ll beg for the recipe.
What will you dry first? Hit the comments or start snapping pics of your build. Happy sunning!
Related Topics: Reduce Food Waste and Protect the Planet
FAQs
What is the ideal temperature for a solar food dehydrator?
Keep it between 120°F and 140°F. This range dries food safely without cooking. Use a thermometer to check.
How long does it take to build a solar food dehydrator?
Plan 15-20 hours over a weekend. Beginners take longer for cuts and fits.
Can I use a solar dehydrator in cloudy weather?
Yes, but slower. Add a small solar fan for boost. Still beats open air.
What foods work best in a solar dryer?
Fruits like apples and berries shine. Veggies such as tomatoes and herbs follow. Avoid fatty meats without monitoring.
How do I store dried food from a solar dehydrator?
Cool completely. Pack in airtight jars or bags. Keep in dark, dry spot for up to a year.
References
- Mother Earth News. DIY Solar Food Dehydrator Plans. https://www.motherearthnews.com/diy/solar-food-dehydrator-plans-zm0z14jjzmar/
- Instructables. Building a Solar Food Dehydrator. https://www.instructables.com/Building-a-Solar-Food-Dehydrator/
- Modern Farmer. How to Build a Solar Dehydrator. https://modernfarmer.com/2016/09/build-solar-dehydrator/
- ScienceDirect. Recent developments in solar drying technology. https://www.sciencedirect.com/science/article/abs/pii/S1364032121013320
- Utah State University Extension. Community Solar Dehydrator Plans. https://extension.usu.edu/sustainability/research/community-solar-dehydrator-plans