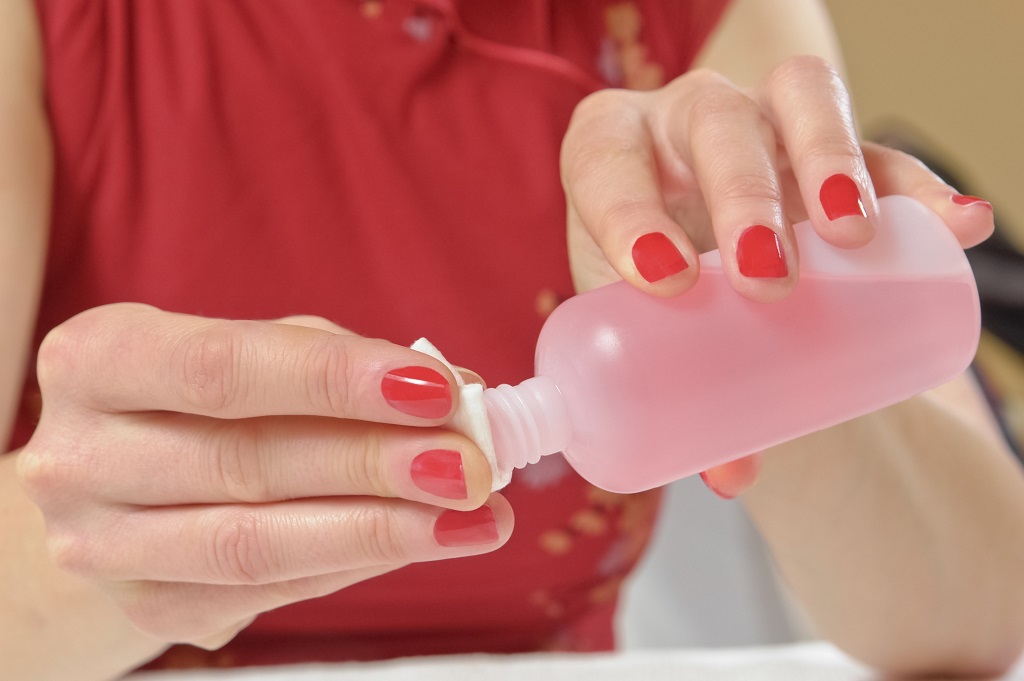
Picture this: You sit down for a relaxing manicure night. The polish glides on perfectly. But when removal time hits, that sharp chemical smell hits harder. Your eyes water. Your skin feels tight. You wonder if it’s worth it.
Traditional nail polish removers pack powerful solvents. They strip color fast. Yet they often leave nails brittle. Skin dry. And lungs irritated from fumes. You crave a better way. One that’s kind to your body and the planet.
Enter the non-toxic nail polish remover recipe. This DIY blend uses everyday kitchen staples. It dissolves polish gently. No acetone needed. No toxic residue left behind. You get clean nails without the harm.
Recent data backs this shift. The Environmental Working Group reports American women use 12 personal care products daily. These expose them to 168 unique chemicals. Many link to hormone disruption and skin issues. A U.S. government study from the National Institutes of Health echoes this. Up to 88% of urine samples show phthalates from beauty items. These common additives in removers raise red flags for reproductive health.
Why stick with risks? Switch to natural alternatives. This guide walks you through easy recipes. You learn the science. The benefits. And tips for glowing nails. Ready to reclaim your routine? Let’s dive in.
Why Ditch Traditional Nail Polish Removers?
You love a fresh mani. But the remover? Not so much. Standard formulas rely on acetone or ethyl acetate. They work quick. They cut through layers in seconds. Yet that speed comes at a cost.
Acetone dries everything it touches. Nails turn yellow. Cuticles crack. Skin around them flakes. Breathe it in? You get headaches. Nausea. Even dizziness hits some folks. Salon workers face worse. Daily exposure builds up. It leads to throat irritation. Long-term respiratory woes.
Look at the facts. The Campaign for Safe Cosmetics highlights solvents like methyl ethyl ketone. They tie to organ toxicity. Reproductive harm. The FDA warns of flammability too. One spark near vapors? Fire risk spikes.
Even “acetone-free” options fool you. They swap in gamma-butyrolactone. Sounds safe. But it converts to GHB. A substance linked to coma in kids who ingest it. A 2005 case in Archives of Disease in Childhood details a baby collapsing after sucking on pads. Heart-stopping stuff.
You deserve better. Natural nail care steps up. It cuts chemical load. Protects your skin barrier. Boosts nail strength over time. Studies from the Journal of Environmental Health show lower toxin exposure eases endocrine strain. Your body thanks you.
Think of Sarah. A busy mom I know. She swapped removers after dry, splitting nails ruined her vibe. Now? Her routine feels fresh. No fumes. Just calm. You can have that too.
The Power of Natural Ingredients in Nail Care
Nature packs a punch for your nails. Forget lab-made solvents. Turn to pantry heroes. They dissolve polish slow but sure. They nourish as they work.
Vinegar leads the pack. Its acetic acid breaks down pigments. White or apple cider versions shine. They balance pH. Fight bacteria. A study in the International Journal of Cosmetic Science praises vinegars for gentle exfoliation. No harsh stripping.
Lemon juice follows close. Citric acid cuts through color. Vitamin C brightens nails. Fades stains. But watch the sun. It amps photosensitivity. Dilute it always.
Essential oils add magic. Lavender soothes skin. Tea tree fights fungus. D-limonene from citrus peels acts as a solvent. Research in Phytotherapy Research confirms these oils hydrate. They reduce inflammation.
Rubbing alcohol? A bridge option. It evaporates fast. Lifts residue. But use sparingly. Opt for organic if you can.
Why mix them? Synergy rules. Alone, they nibble at polish. Together? They team up. You get effective removal. Plus perks like stronger cuticles. Smoother beds.
The EWG rates many naturals low-hazard. Vinegar? A 1. Lemon oil? Often 2. Compare to acetone’s 5-8. Big win for safety.
Real talk: These shine on water-based polishes. For gel? You need pro help. But for everyday? Perfection.
Step-by-Step Non-Toxic Nail Polish Remover Recipe
Ready to mix? This base recipe serves up safe, effective removal. It uses vinegar and lemon. Yields about 4 ounces. Enough for weeks.
Ingredients You’ll Need
- 1/2 cup white vinegar (distilled for purity)
- 1/4 cup fresh lemon juice (squeeze from 1-2 lemons)
- 2 tablespoons rubbing alcohol (isopropyl, 70% or less)
- 5 drops lavender essential oil (for calm scent and soothe)
- Optional: 1 teaspoon olive oil (for extra moisture)
Grab glass jars. Dark ones keep oils fresh. Source organic where possible. Your skin notices the difference.
Simple Preparation Instructions
- Squeeze lemons into a bowl. Strain pulp. You want clear juice.
- Pour vinegar into a clean jar. Add lemon juice. Stir slow.
- Drop in alcohol. Swirl to blend. It lifts any cloudiness.
- Add essential oil. Cap and shake. Let sit 10 minutes.
- If using olive oil, drizzle last. Shake again. It emulsifies.
Store in a cool spot. Shelf life? Two weeks. Shake before use. Label it. Keep from kids.
How to Apply for Best Results
- Soak a cotton pad. Press on nail 30 seconds. Let it penetrate.
- Wipe gentle. Downward strokes. From base to tip.
- Repeat layers. Patience pays. It takes 1-2 minutes per nail.
- Rinse hands. Pat dry. Follow with cuticle oil.
Pro tip: Warm the mix slightly. Microwave jar 10 seconds. Heat boosts action. Just test temp first.
This blend removes most polishes. Stubborn reds? Add a tea tree drop next batch.
Variations: Tailor Recipes to Your Needs
One size fits? Not here. Tweak for your vibe. Dry nails? Go moisturizing. Sensitive skin? Skip citrus.
Moisturizing Version for Dry Cuticles
Swap rubbing alcohol for aloe vera gel. Add 1 tablespoon vitamin E oil. It locks in hydration. A Journal of Dermatology study shows vitamin E repairs barriers. Your nails drink it up.
Ingredients: 1/2 cup apple cider vinegar, 1/4 cup aloe juice, 1 tbsp vitamin E, 3 drops jojoba oil.
Mix like base. Apply same. Bonus: It softens hangnails overnight.
Quick-Acting Citrus Boost for Busy Days
Double lemon. Cut vinegar half. Add orange peel zest. Grate fresh. Strain in.
Why? D-limonene dissolves faster. Dr. Axe recipes swear by it. Removes in under a minute.
Caution: Patch test. Citrus can sting open cuts.
Alcohol-Free Gentle Blend for Kids or Sensitives
Use warm soapy water base. 1/4 cup castile soap, 1/4 cup vinegar, 10 drops chamomile oil.
Soak nails 2 minutes first. Then wipe. Slower but zero irritation. Perfect for little ones.
Eco-Warrior Herbal Infusion
Steep rosemary sprigs in vinegar overnight. Strain. Add peppermint oil.
Rosemary antioxidants fight free radicals. Per a Cosmetics study, herbs extend nail health.
Each twist solves a pain point. Experiment. Find your fave.
Safety First: Tips for Worry-Free Use

DIY rocks. But smart use seals it. Always patch test. Dab on inner arm. Wait 24 hours. No rash? Green light.
Ventilate your space. Open windows. Fumes? Minimal here. Still, air flows.
Eyes matter. Avoid contact. Rinse if splash hits. For ingestion? Call poison control. Though naturals lower risk.
Pregnant? Skip strong citrus. Opt for vinegar solo. Consult doc.
Nail health check: If brittleness persists, see a derm. Could signal deeper issues.
Storage savvy: Cool, dark. Away from heat. Flammable bits like alcohol? Handle care.
Kids around? Lock it up. Educate them.
Follow these, and you nail safety. Pun intended.
Boost Your Nail Health Routine
Removal’s half the game. Build a full natural care circle. Start with breathable polishes. Brands like Ella+Mila score EWG 1s.
Weekly soaks: Warm olive oil. 10 minutes. Softens beds.
Daily massage: Coconut oil. Rub in circles. Boosts circulation.
Diet hack: Biotin-rich foods. Eggs. Nuts. Stronger from inside.
Avoid: Frequent gels. UV lamps age skin.
Case in point: Lisa, a teacher. She layered these habits. Her nails? Thick. Shiny. No breaks in months.
Track progress. Photo before and after. See the glow.
Common Mistakes and How to Fix Them
New to DIY? Pitfalls lurk. Here’s the scoop.
- Rushing removal. Solution: Let soak longer. Patience prevents tugging.
- Skipping rinse. Leftover acid dries skin. Always wash up.
- Over-oiling. Too much? Greasy mess. One drop suffices.
- Ignoring polish type. Oil-based? Vinegar shines. Water? Lemon leads.
- Bad storage. Light fades oils. Dark jar fixes it.
Learn these. Your routine smooths out.
The Bigger Picture: Sustainable Beauty Choices
Your nails? Just the start. Go green across beauty. Choose refillable bottles. Plant-based brands.
Impact? Huge. The UN Environment Programme notes cosmetics pollute waters. Microplastics from polishes harm marine life.
You vote with buys. Support clean makers. Share recipes. Spark change.
Feel empowered? That’s the goal.
Related Topics: Hemp Fabric Benefits in Fashion
Conclusion
You now hold the key to safer manis. This non-toxic nail polish remover recipe swaps toxins for treasures. Vinegar dissolves. Lemon brightens. Oils nurture. Variations fit every need.
Benefits stack: Healthier nails. Fresher air. Kinder planet. Backed by EWG smarts and FDA insights.
Ditch the drama. Mix your batch today. Watch your nails thrive. What’s your first tweak? Grab those ingredients. Start strong.
Related Topics: Wildflower Honey Infused Skin Barrier Repair
FAQs
What makes a nail polish remover non-toxic?
Non-toxic versions skip harsh solvents like acetone. They use natural acids from vinegar or citrus. These break down polish without drying skin or irritating lungs. EWG rates them low-risk for daily use.
Can I use this recipe on gel nails?
This works best on regular lacquers. Gel needs UV breaking. For at-home, try acetone dips pro-style. But stick natural for top coats. Consult a salon for full sets.
How long does homemade remover last?
Store in a cool spot. It keeps two weeks. Oils turn first. Make small batches. Refresh as needed. Always shake well.
Is lemon safe for sensitive skin?
Dilute it. Patch test always. It brightens but can sting cuts. Swap for aloe if issues arise. Hydration balances any tingle.
Why choose DIY over store-bought natural removers?
DIY costs pennies. You control purity. No fillers. Customize scents. Plus, it’s fun. Builds skills for other green swaps.