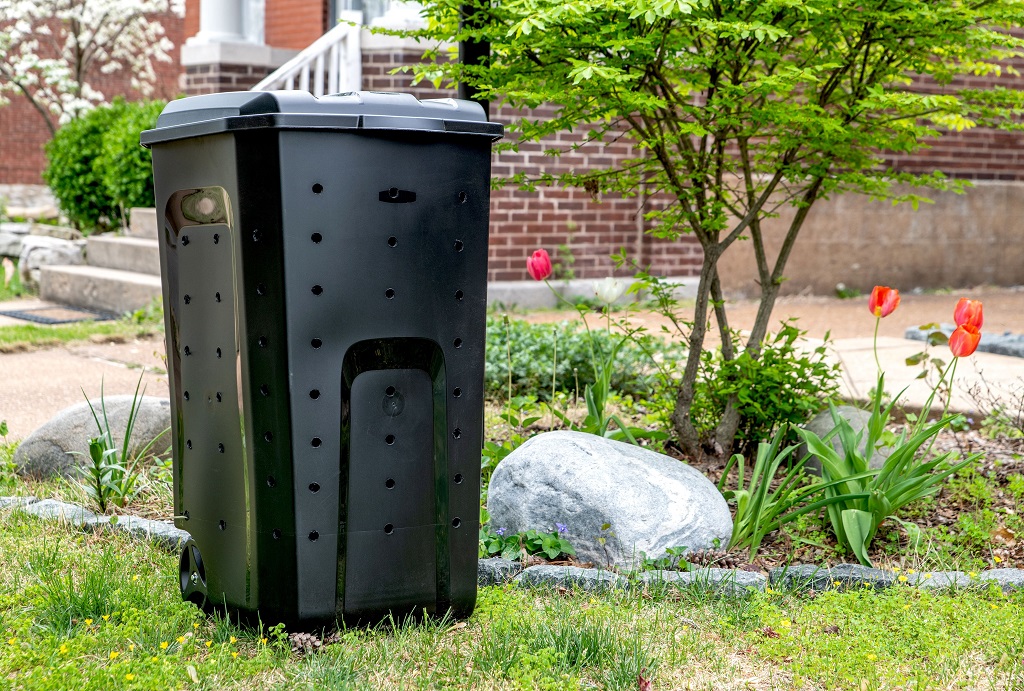
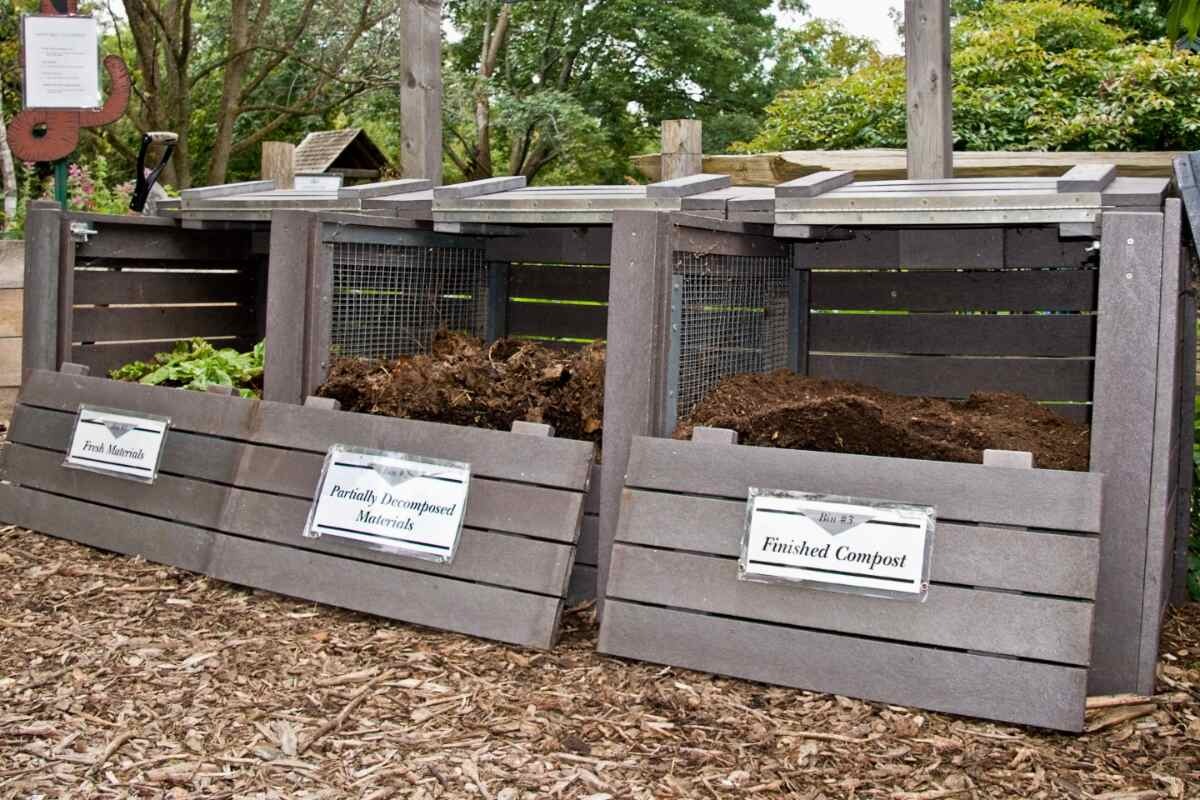
Imagine turning kitchen scraps and yard waste into rich, nutrient-packed compost for your garden. A backyard compost tumbler makes this process simple, fast, and odor-free. Composting reduces landfill waste and enriches soil naturally. According to the U.S. Environmental Protection Agency, organic waste makes up 30% of what Americans throw away. Composting can cut this significantly. A 2021 study from the University of California found that home composting reduces greenhouse gas emissions by up to 40%. Ready to build your own compost tumbler? This guide walks you through every step, from materials to maintenance, with practical tips to ensure success.
Why Choose a Compost Tumbler?
Compost tumblers offer advantages over traditional piles. They speed up decomposition, keep pests away, and require less space. Tumblers also make turning compost easier, ensuring even breakdown. Building your own saves money and lets you customize the design to fit your needs. Whether you’re a beginner or seasoned gardener, a DIY compost tumbler is a rewarding project.
Materials Needed to Build a Backyard Compost Tumbler
Gather these materials before starting. Most are affordable and easy to find at hardware stores or online.
- 55-gallon plastic barrel: Food-grade, clean, with a tight-fitting lid.
- 4×4-inch treated lumber: Two 6-foot pieces for the frame.
- 2×4-inch lumber: Four 4-foot pieces for support.
- Galvanized steel pipe: 1-inch diameter, 5 feet long, for the axle.
- Pipe flanges: Two, to secure the axle.
- Screws and bolts: Galvanized, corrosion-resistant, various sizes.
- Hinges and latch: For the barrel door.
- PVC pipe: 2-inch diameter, 2 feet long, for aeration.
- Drill and bits: For cutting holes and securing parts.
- Saw: For cutting lumber.
- Measuring tape and marker: For precision.
- Paint or sealant: Optional, for weatherproofing.
Tools Required
You’ll need basic tools to assemble your tumbler. Most households already have these.
- Drill
- Circular saw or hand saw
- Screwdriver
- Wrench
- Measuring tape
- Marker
- Safety gear (gloves, goggles)
Step-by-Step Guide to Building Your Compost Tumbler
Follow these steps to create a sturdy, efficient compost tumbler. Each step includes tips to avoid common mistakes.
Step 1: Prepare the Barrel
Choose a clean, food-grade 55-gallon barrel. Remove any residue with soap and water. Dry thoroughly. Mark a rectangular door (about 12×12 inches) on the side. Use a drill to create starter holes, then cut out the door with a jigsaw. Attach hinges and a latch to secure the door. Ensure it closes tightly to prevent leaks.
Step 2: Add Aeration Holes
Drill 1/2-inch holes around the barrel’s sides, spaced 6 inches apart. These holes allow air to circulate, speeding up decomposition. For extra aeration, insert a 2-foot PVC pipe with drilled holes through the barrel’s center. Seal the ends to keep compost inside.
Step 3: Build the Frame
Construct a stable frame to hold the barrel. Cut two 6-foot 4×4 lumber pieces for the base. Cut four 4-foot 2×4 pieces for the upright supports. Assemble an A-frame structure by attaching two 2x4s to each 4×4 base, forming a triangle on each side. Connect the triangles with crossbeams for stability. Use galvanized screws to prevent rust.
Step 4: Install the Axle
Thread a 5-foot galvanized steel pipe through the center of the barrel. Secure each end with a pipe flange attached to the frame’s crossbeams. Ensure the barrel spins freely without wobbling. Test the rotation before proceeding.
Step 5: Secure and Test the Tumbler
Place the barrel on the frame. Check that it rotates smoothly. Adjust the axle or frame if needed. Paint or seal the wood to protect it from weather. Test the door latch to ensure it stays closed during rotation.
Tips for Successful Composting
Building the tumbler is only the start. Follow these tips to create high-quality compost.
- Balance green and brown materials: Green materials (grass clippings, vegetable scraps) provide nitrogen. Brown materials (dry leaves, cardboard) add carbon. Aim for a 2:1 brown-to-green ratio.
- Turn regularly: Spin the tumbler every 2–3 days to aerate the pile. This speeds up breakdown and prevents odors.
- Monitor moisture: Compost should feel like a wrung-out sponge. Add water if too dry or dry materials if too wet.
- Avoid certain items: Don’t compost meat, dairy, or oily foods. These attract pests and slow decomposition.
- Chop materials: Smaller pieces break down faster. Chop or shred large items before adding.
Maintaining Your Compost Tumbler
Regular maintenance keeps your tumbler working well. Check the axle and frame monthly for wear. Tighten loose screws or bolts. Clean the barrel yearly to remove residue. Store the tumbler in a shaded area to prevent UV damage to the plastic.
Benefits of Composting at Home
Composting enriches soil, reduces waste, and supports sustainable gardening. It improves soil structure, retains moisture, and boosts plant growth. A 2020 study from Cornell University showed that compost-amended soil increases crop yields by 20–30%. Plus, composting reduces methane emissions from landfills, helping the environment.
Common Mistakes to Avoid
Steer clear of these pitfalls to ensure success.
- Overloading the tumbler: Fill it only two-thirds full to allow proper mixing.
- Ignoring aeration: Without enough air, compost turns smelly and anaerobic.
- Adding wrong materials: Avoid pet waste or diseased plants, which can harm compost quality.
- Neglecting maintenance: Check the tumbler regularly for leaks or loose parts.
FAQs
How long does it take to make compost in a tumbler?
Compost takes 4–8 weeks in a tumbler with regular turning and proper balance of materials. Warm weather speeds up the process.
Can I compost in winter?
Yes. Insulate the tumbler with straw or a tarp. Turn it less often but maintain moisture and aeration.
What can I compost in my tumbler?
Add fruit and vegetable scraps, coffee grounds, eggshells, grass clippings, dry leaves, and cardboard. Avoid meat, dairy, and oily foods.
How do I know when compost is ready?
Ready compost is dark, crumbly, and smells earthy. No recognizable food scraps should remain.
Can I use my compost tumbler for small yards?
Yes. Tumblers are compact and ideal for small spaces. They keep compost contained and pest-free.
Related Topics: Install a Wooden Countertop
Conclusion
Building a backyard compost tumbler is a fun, eco-friendly project. You’ll create nutrient-rich compost while reducing waste. Follow the steps above to construct a durable tumbler. Maintain a proper balance of materials and turn it regularly for best results. Start your composting journey today and watch your garden thrive. Share your progress or ask questions in the comments below!
References
- U.S. Environmental Protection Agency: https://www.epa.gov/recycle/composting-home
- University of California Study on Composting: https://ucanr.edu/sites/ceventura/files/338428.pdf
- Cornell University Soil Study: https://cals.cornell.edu/news/compost-soil-health


